Max has two default lights in the viewports which enable the user to see their models in a basically lit environment. As soon as you start to add your own lighting, that default changes, and Max updates the view to whatever lighting that you specifiy.
Make a small scene, click and drag a plane in the perspective viewport and place assorted standard and extended primitives on that plane, so that you can test out the different lights.
Go to the Creat panel, and click on the small lighting symbol. In the Front viewport click and drag a target spot.
In order to see your lighting update it is a good idea to change one of the viewports to Perspective view - Active Shade - Spot.
Target Spotlights are very useful for mood lighting, free target spots can be used for car headlamps, streetlamps etc. A potlight illuminates an area within a cone, similar to a stage light. Target Spotlights point at a target that you aim, whereas freww spotlights are taargetless, so they can be moved easily. You can align a target light to a path and animate it if you wanted to.
With your target spotlight highlighted, go to the modify panel, and it will reveal a target spotlight rollout.
Under general parameters, you can change the light to either an Omni light or Directional light. An Omni light radiates light in all directions and is ideal for general sunlight, or an overhead light in a room, the light radiates from the one source. Directional lights use a cone of illumination and the sides of the cone are parallel rather than radiating from a single source like spotlights.
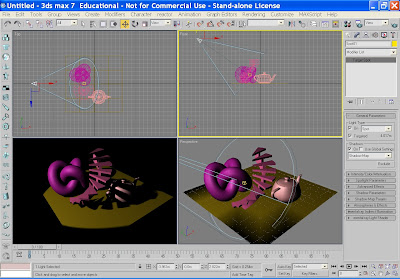
You will also notice that you can add shadows. Just check the box next to shadow and miraculously you will get shadows within your scene. Here you can specify different shadow types using different rendering techniques , which will be covered next semester.

In the next box you will find Intensity/Colour Attenuation. Here you can change the intesity of the light by changing the Multiplier spinner, and if you click on the colour square you can change the colour of the light. Here I have changed the colour of the light to light blue, and have added an extra target spot to illuminate the scene even more so that you can see the changes.
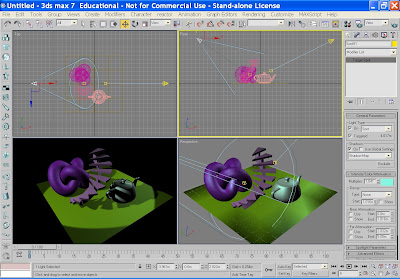 You can also change the attenution, but again this will be covered next semester. You can change your spotlight from a round stagelight to a square light in the spotlight parameters box.
In Advanced effects you can add a map to your spotlight. Check the projector map box and click on the map box to add either a proceedural map or one of your own. I have added a speckle map to mine and here is the effect it provides.  Omni lights and Directional lights have the same rollouts and parameters, so it is a good idea to play with these to see what sort of lighting effects that you can produce.
Omni lights and Directional lights have the same rollouts and parameters, so it is a good idea to play with these to see what sort of lighting effects that you can produce.
1 comment:
Yay! Never new that omni lights can be use for such an awesome job. For more omni products please check us out: LSG Omni Products
Post a Comment